Making a Classic Red and Gold Sequin and Glitter Easter Egg + Written Instructions
Recorded in SD in 2010, this time-lapse video is best viewed on a small screen or browser window.
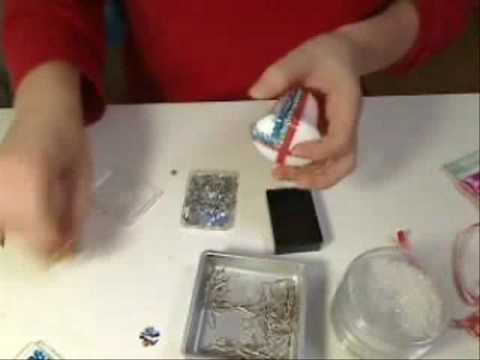
Materials
One smooth foam egg (about 3 inches tall)
5 mm gold sequins
5 mm red metallic sequins
1/2 inch gold sequin pins*
15/0 clear iridescent seed beads*
red glitter paint**
two gold flower embellishments
two 7 mm red metallic sequins
glue
*Purchased from Cartwright’s
**Red glitter paint was made from red metallic glitter and clear glue.
Instructions
First, make a line of gold sequins around the egg, dividing it into two equal halves, as shown in the video. There is usually a line left over from the manufacturing process (the mold line) that you can use to keep your line straight.
Next, alternate colors of sequins, one red, one gold, and so on, to create two more lines on either side of the center gold line.
Make two more gold lines next to the alternating red and gold lines. You will have five lines running down the center mold line of your egg when finished.
Next, paint the exposed foam with red glitter paint and let it dry. You may need to apply several coats to get an opaque look.
Once the paint is completely dry, space the sequins with about a 5 mm gap in between each, outlining your existing lines of gold sequins.
Pin flower embellishment in the center of the painted section. Use the 7 mm sequin as the center of the flower, and be sure to pin down the petals so they lay flat.
Place 12 gold sequins in a staggered pattern around the flower, as shown in the video.
You may notice that I did a few of the steps out of order on the video. That’s because I was designing it as I made it. When making this design yourself, it will be easiest if you follow the steps in the order written.