Easy Intersecting Circles Sequined Kimekomi Ornament
This time-lapse video was recorded in SD in 2010 and is best viewed on a small screen or browser window.
Tools & Materials
ballpoint pen
drafting compass
tape measure
craft knife
tucking tool
liquid white out
one 8 cm smooth foam ball
solid dark red cotton fabric
red, green, etc. Japanese patterned cotton fabric
5 mm gold sequins
15/0 clear iridescent seed beads*
gold ribbon
3/4 inch gold pins*
one red pearl-topped corsage pin
one gold bead cap
craft glue
*purchased at Cartwright’s
Instructions
The trick to this ornament is good symmetry. If you don’t get your original four sections drawn perfectly, then the design will be off. Before you start, make sure your ball is not warped or damaged.
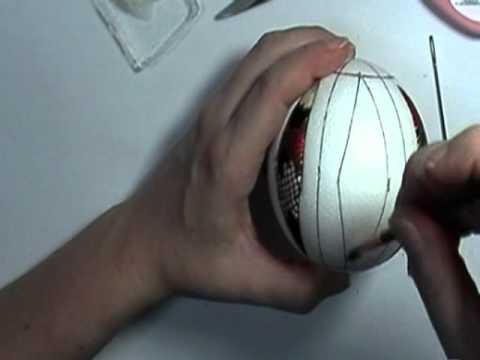
Divide your ball into four equal sections.
Set your compass to 4 cm and draw a circle at the top and bottom of your foam ball.
At the center mold line, find the point where the four vertical lines intersect. At each point, draw a circle with your compass, still set at a 4 cm radius.
White out the original four vertical lines you drew. You should now only see the six circles.
Cut the foam along all the drawn circles.
Once all your cuts are finished, locate the 12 almond-shaped sections where each of the circles intersect each other.
Cut red fabric into oval shapes a little larger than the center of the almond spaces.
Cover the center of the almond shape with red fabric, tucking the edges into the cuts in the foam.
Then, cover the squares and, finally, the small triangles at the end of the almond shapes with the patterned fabric.
Once all the foam is covered with fabric, line the seams with gold sequins.
Finish the ornament with a hanging ribbon and bow, both of gold ribbon at the top of the ornament.