Making a Striped Fabric Easter Egg Ornament
Recorded in 2015 in SD and is best viewed on a small screen or browser window.
Tools and Materials
ballpoint pen or fine-tipped Sharpie
scissors
craft knife
tucking tool
glue stick
craft glue
smooth foam egg
fabric in 2 colors and/or motifs
quilt batting
6 mm wide ribbon
cord trim
two pearl-topped pins
two large sequins
Instructions
Drawing Lines on your foam egg.
Please note that these measurements are for eggs that are about 7 cm tall. You will need to adjust your measurements for eggs of a different size.
Your foam egg should have a mold line that was made during the manufacturing process that runs up each side of the egg from bottom to top. The bottom is the widest part of the egg, and the top is the narrowest.
Using your measuring tape as a straight edge, trace the mold line with your pen on both sides of the egg.
Now, take your measuring tape and find the place near the top where there is 8 cm between each of the lines you just drew.
Draw a dot at 2 cm, 4 cm, and 6 cm. I’ll call these dots the mid-points in the next step. You can repeat this step from the bottom of your egg if you wish.
Next, using your measuring tape as a straight edge, draw a line connecting the top, one of your mid-points, and the bottom of the egg. Do this for all mid-points marked. When finished, your egg should have eight vertical lines.
Cut along all lines on foam egg about 8 mm deep.
Cut out batting and fabric panels. Cut out eight panels of quilt batting using the batting pattern provided below. Cut out fabric panels using the fabric pattern provided below. Four panels of each color.
Glue a panel of batting on the foam in any of the eight sections. Trim the batting if needed. Next, take a fabric panel and place it over the batting. Tuck the edges of the fabric into the foam. Trim fabric as needed. Repeat step a and step b above on the next section with the other color fabric. Alternate panels of the two colors of fabric all the way around the egg.
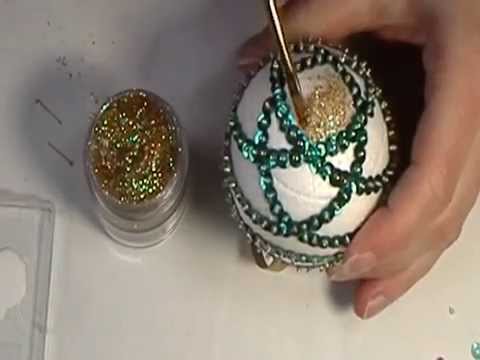
Glue cord onto seams. Start at the top (small end) of the egg. Using your tucking tool or a large needle, scrape off a small bit of glue from your glue stick and apply it to a vertical seam where you tucked in the fabric. Next, place the cord on top of the glue and pat it with your finger to secure it. Use your tucking tool or a needle to remove any excess glue. Do not cut the cord at the bottom of the egg. Continue around the entire egg until you reach the top again. When finished with a seam, you can either cut the cord and tuck the end into the top of the egg, or you can continue on to the next seam without cutting the cord, as I do in the video.
Pin the bow, hanging ribbon, and sequin to the top of the egg. Cut 16 cm of ribbon for the hanging ribbon. Thread a large sequin onto a pearl-headed pin first, then the hanging ribbon. Use the remaining ribbon to make the bow. Make four loops. Adjust the loop size as you like and trim the extra ribbon. When pinning the ribbon for your bow, use a figure 8 motion and be sure that the shiny side of the ribbon is always pointing outward. Dip the end of the pin in craft glue and pin it to the top of the egg.
Pin the remaining pin and sequin to the bottom of the egg. Dip the end of the pin in craft glue for a secure hold.