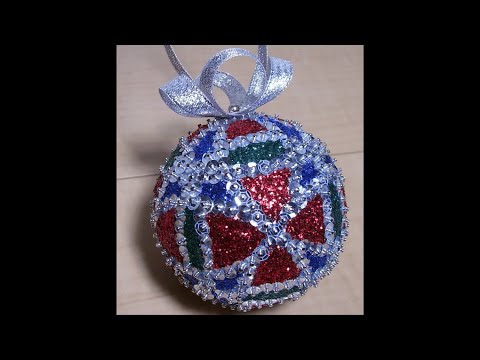
Making a Stars & Stripes Fabric Ornament
Written instructions included. This time-lapse was recorded in 2011 in SD and is best viewed on a small screen or browser window.
Tools & Materials
ballpoint pen
tape measure
craft knife
tucking tool
liquid whiteout
glue stick
6 cm smooth foam ball
cotton fabric in red, white, and blue
red, blue, and silver ribbon
silver star sequins*
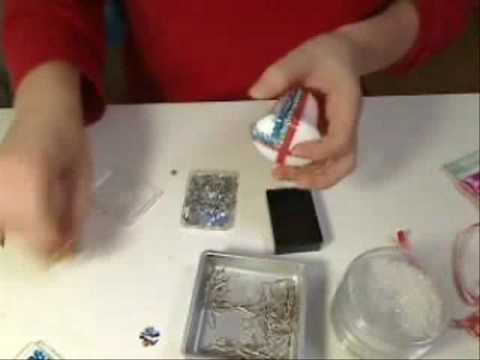
3/4 inch sequin pins*
15/0 clear iridescent seed beads*
two pearl-topped corsage pins
two 12 mm silver bead caps
*Purchased from Cartwright’s
Instructions
Divide your ball into six equal sections.
White out the equator line if drawn and cut the foam along vertical lines.
Cut out six panels of quilt batting that equal the size of each section on your foam ball.
Cut out two panels of each color fabric a little larger than the size of each section on your ball.
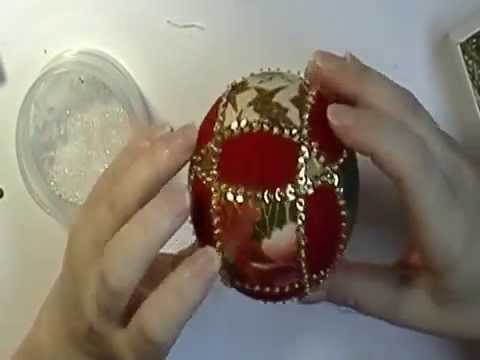
Glue one panel of batting on a section of your foam ball, then cover it with a panel of red fabric and tuck the edges of the fabric into the foam.
Repeat step 5 for the remaining sections on your ball with alternating colors of fabric.
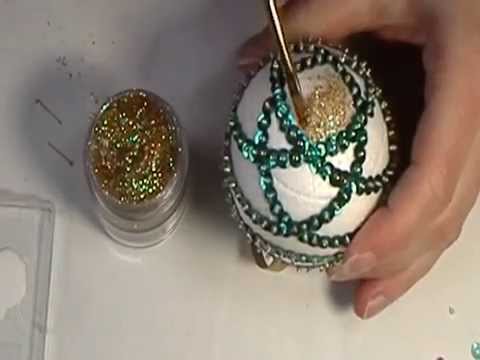
Pin star sequins along the seams in a staggered pattern. For white and blue seams, 3 stars. For blue and red seams, two stars.
Top off your ornament with a bead cap, red hanging ribbon, and a blue and silver bow. Thread the bead cap onto the corsage pin first. Then, thread on the hanging ribbon and then the bow. To create a two-colored bow, alternate two loops of blue ribbon, two silver, then two more blue, and last two more silver.
Finish by pinning a bead cap at the bottom of the ornament with a corsage pin.